Initializing a Git Repository


Consider that you have a project called e2e-tests for end-to-end testing of the app you are working on. Now, you want to make this project a Git repository so that you can track changes to the project over a period of time. To make this project a Git repository, you can run the following command:
git init
An empty Git repository will be initialized.

If your default branch name is master you may see some warnings. Please see this post to rename the default branch.
.git folder
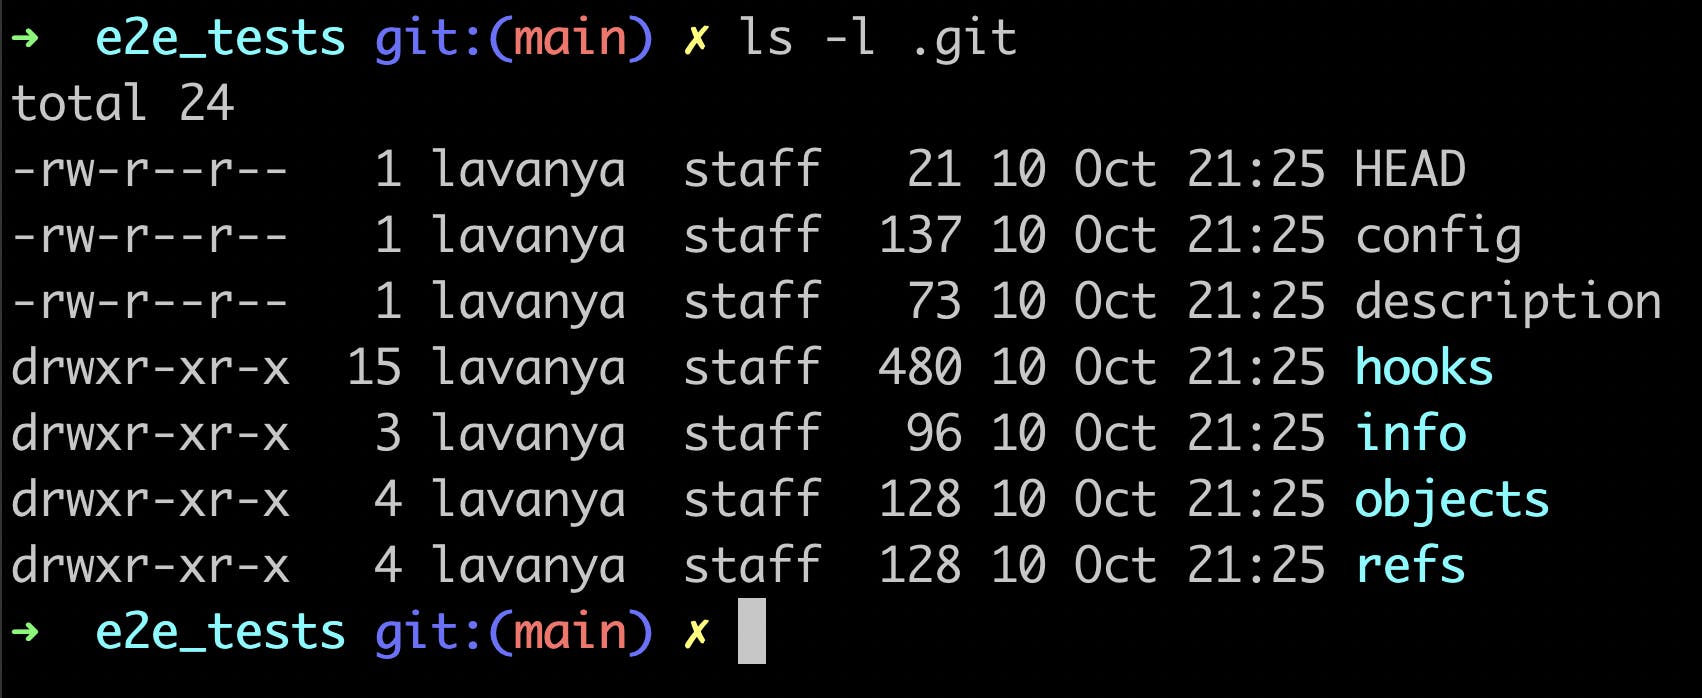
Now run the ls -al command. You will be able to see that a .git folder is present. This is the folder that gets created when a Git repository is initialized.

This .git folder has different files like HEAD, description and some folders like objects, hooks, etc.
We will take a deeper look at some of these in future posts.
Git Status
You can check the status by running the following command:
git status
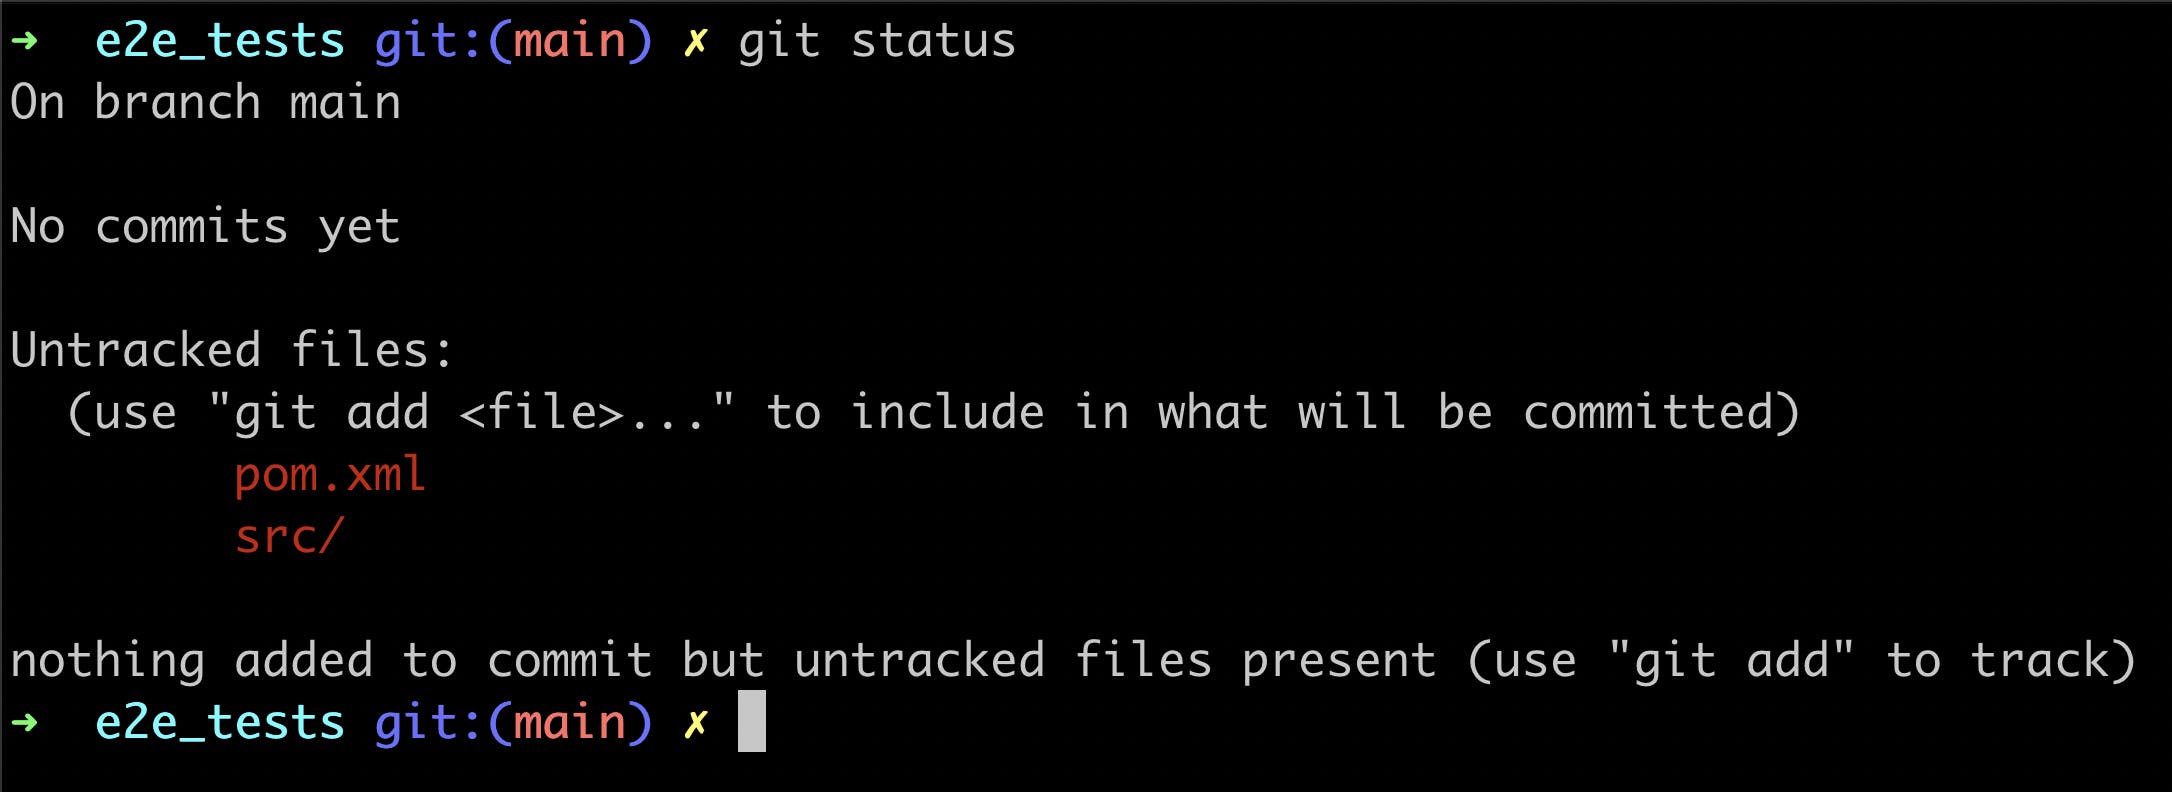
The result of this command states:
- You are on the
mainbranch - There are no commits yet
- There are some untracked files
We will take a deeper look at branches in future posts.
Untracked files
Untracked files are files that Git does not know about. They are files that are not present in the last snapshot and not present in the staging area.
Read more about how Git thinks of data and the Main Sections in Git to understand more about snapshot and staging area.